3D Print File X-9000 Light Bee Shroud
The print file is available as a ZIP file below - please note this file is for personal use only and not for resale.
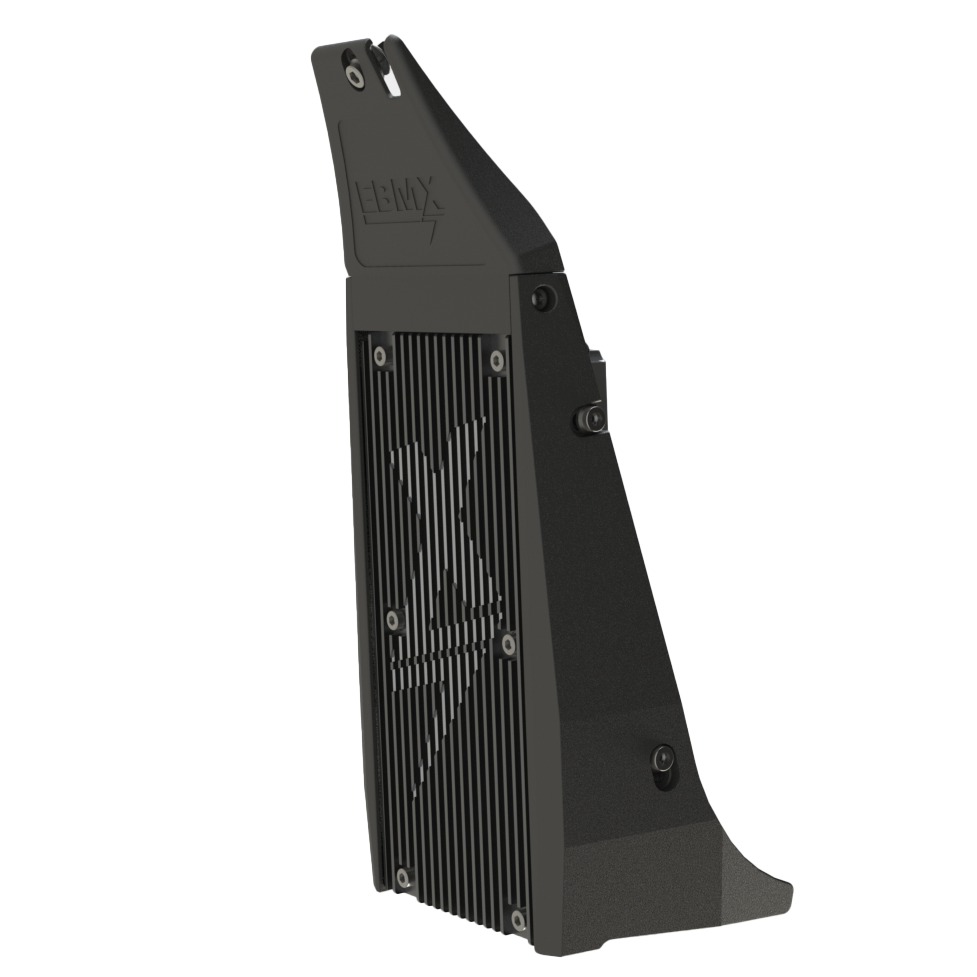
You asked and we listened! Download the file here to 3D Print your own EBMX X-9000 Shroud for the SurRon Light Bee.
Files included:
Shroud_Left_V6.1.stl
Shroud_Right_V6.1.stl
Shroud_Top_V6.1.stl
Shroud_ControllerSpacer_1mm.stl
Shroud_ControllerSpacer_2mm.stl
Shroud_ControllerSpacer_3mm.stl
PRINTING NOTES
Through testing we have discovered that most SurRon Light Bee frames, in particular the OEM controller mounts, vary slightly depending on level of use and manufacturing tolerances of the frame. Because of this, sometimes there may be slight gaps between the shroud and the frame on your bike. To account for this, we included slots in the shroud to give some adjustment, we have also provided shims (1mm, 2mm and 3mm) to space the upper mount face of the controller from the frame.
The recommended hardware to be used with the controller kit is shown below. Please note that during assembly of the shroud, do not overtighten the screws as it may damage the plastic. We also recommend installing the socket head cap screws with Loctite to prevent loosening.
We have tested and printed on our printer (Bambu Lab X1C) with the following filaments: PLA, PLA-CF and PETG. We recommend printing with supports at a 0.2mm layer height.
Minimum required bed space: 220mm x 220mm. For best finish and minimal support, align the plate with the edge parallel to the X-9000.

Recommended Hardware | Description | Qty |
Self-tapping screw 8G x 1/4" | Phillips head-drive | 2 |
M6x10 socket head cap screw | Low profile DIN7984 recommended | 2 |
M6x20 socket head cap screw | Low profile DIN7984 recommended | 2 |
M6x16 socket head cap screw | Low profile DIN7984 recommended | 1 |
M6 plain washer | Recommended | 5 |
M6 lock nut | Flanged lock nut recommended. It is possible to reuse the existing nut mounting the horn | 1 |
